Starting with the AWS IoT Button
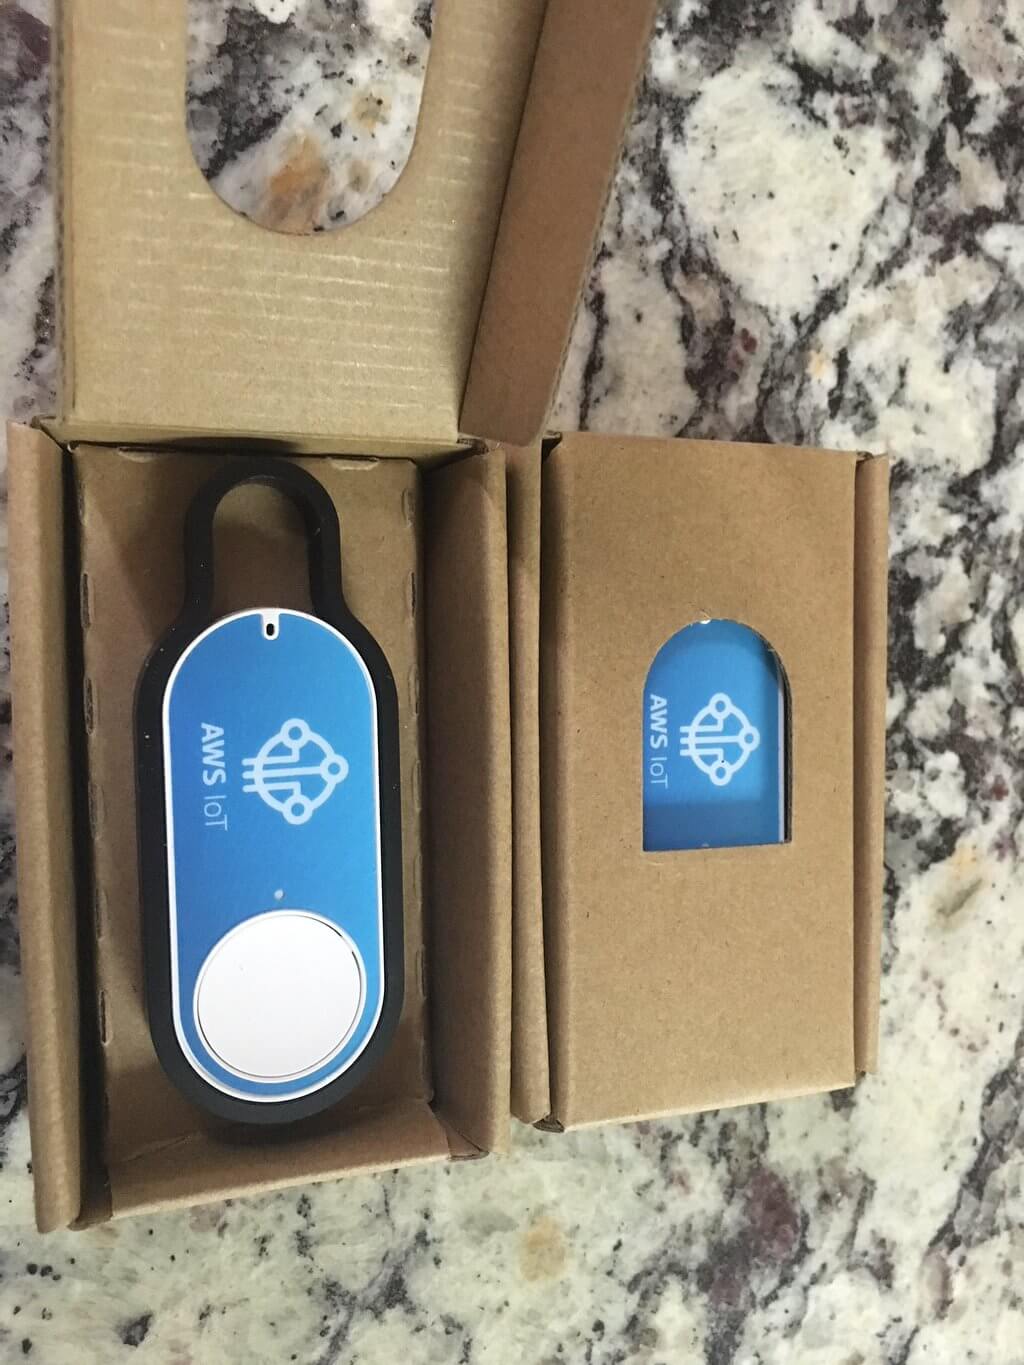
My first IoT buttons!
I bought a pair of the AWS IoT Buttons when they went on sale in May of 2016. Because why not?
I figured it would be stupid simple to get started in tying it into the AWS IoT service and Lambda, and then I’m off and running, right? In the words of Lee Corso:

I tried to do this the manual way by going through the IoT console, and got stuck fast.
My goal is to document how to get this button up and tied into AWS to help others, and to help myself when I start doing something with the second button.
Assumptions
There are two assumptions here:
- You have a button
- You have an AWS account and the necessary permissions to setup IoT, IAM, Lambda, etc. I only give my root user permissions to manage IAM.
Step 1: Read the directions
I know the temptation is to just start configuring the device after disposing of the instructions. I highly recommend using the IoT blueprint for your first button.
There’s a little work you need to do before configuring your button. First, you need to actually configure in the AWS console. Instructions can be found here in the Getting Started section. If you already have a few Lambda function, the steps are as follows:
- Click “Create a Lambda function”
- Find the “iot-button-email” blueprint and click it.
- Set the IoT type to “IoT Button”
- Enter the DSN (Device Serial Number) found on the back of your button.
- Click “Generate certificate and keys”
- Download the certificate PEM and private key it generates
- Now Follow the instructions for setting up your button, and just copy and paste your way through the button config.
- Click “next”, and you can now configure your Lambda function!
The default function is in Node.js that will send an email notification with the serial number and charge of your button. The comments in the function are actually really good. It gives you a complete IAM policy in the comments as well as a sample payload for using your button.
This Lambda blueprint does a lot. If you go over to the IoT section of the console, you’ll see a whole bunch of things wired up. It will standup your API endpoint, generate your certificates, setup your policies, the works! The good news is that as you develop your own custom functions, you can just point your IoT rule to your new function!
What next?
I just need think of something clever to do with this button. Now that it’s tied into IoT, all I have to do is make the code. Here’s an example of what the payload to Lambda will look like:
{
    "serialNumber": "GXXXXXXXXXXXXXXXXX",
    "batteryVoltage": "xxmV",
    "clickType": "SINGLE" | "DOUBLE" |"LONG"
}
I’m still trying to figure out what to do with this thing.